
Behind The Approach
Why the course is structured this way.
Small-space growing runs into problems a full-sized garden rarely faces: limited light exposure, weight restrictions on balconies, and equipment that has to fit on a shelf rather than a shed. The structure below explains how the course accounts for those constraints from the first module onward.
Why this course exists
A large amount of available growing material assumes a garden bed, direct sun for most of the day, and open ground for roots to spread. Hydroponic material, on the other hand, often assumes familiarity with nutrient ratios and pump maintenance. Someone standing on a balcony with two pots and a watering can has few resources written specifically for their situation. This course was built to close that particular gap, treating limited space and beginner status as the starting conditions rather than obstacles to work around later.
Core Teaching Principles
Four ideas that shape every lesson.
Space Assessment First
Before any crop or system is discussed, the course asks you to record light hours, wind exposure, and physical constraints of your space. These notes become the reference point for every decision that follows.
Water Mechanics Before Plant Names
Watering method is treated as a technical topic in its own right, covered before specific crops are introduced, since it determines which crops will realistically thrive in your setup.
Incremental Complexity
Manual watering is covered before wick systems, wick systems before drip irrigation, and drip irrigation before hydroponic reservoirs. Each step builds on the previous one rather than introducing everything simultaneously.
Weekly Observation Habit
A short, repeatable checklist for inspecting leaves, soil moisture, and root zones is introduced early and reused throughout, so it becomes a habit rather than a one-time instruction.

How Modules Are Structured
Each module follows the same four steps.
- Reading material. A written lesson covering the concept in plain language, with diagrams where useful.
- Video walkthrough. Included in the Complete Course and Group Workshop formats, showing the concept applied to a real small-space setup.
- A small practical task. A short, low-cost exercise you can complete in your own space before moving on.
- A checklist. A short list to confirm the module's key points before starting the next one.
Materials And Tools
General categories, not specific products.
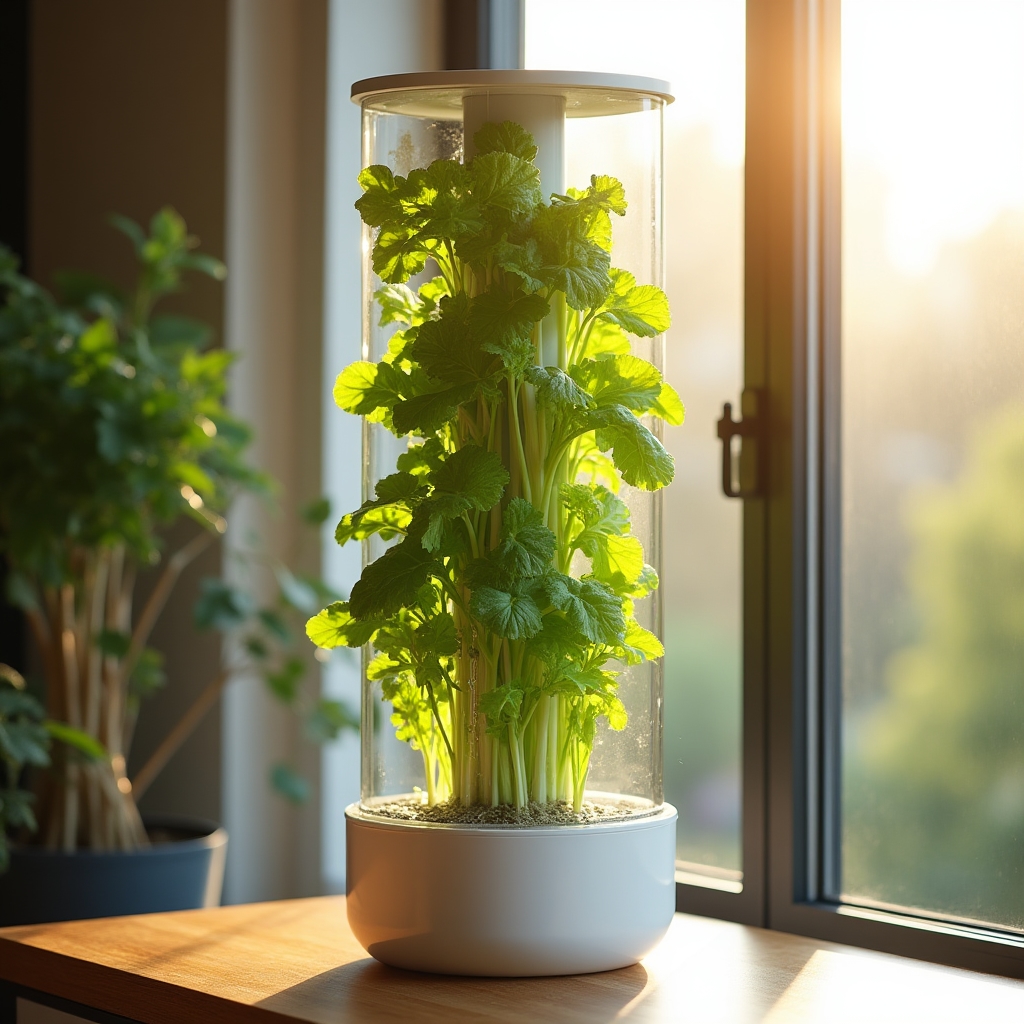
Depending on which watering method you choose, you may end up using containers with drainage holes, a basic mechanical or digital timer, net pots and an inert growing medium for hydroponic setups, a small air pump for deep water culture, and pH test strips to check reservoir water. These are described as general categories throughout the course; no specific brand or supplier is required or endorsed.
After The Course
Continuing once the five modules are done.
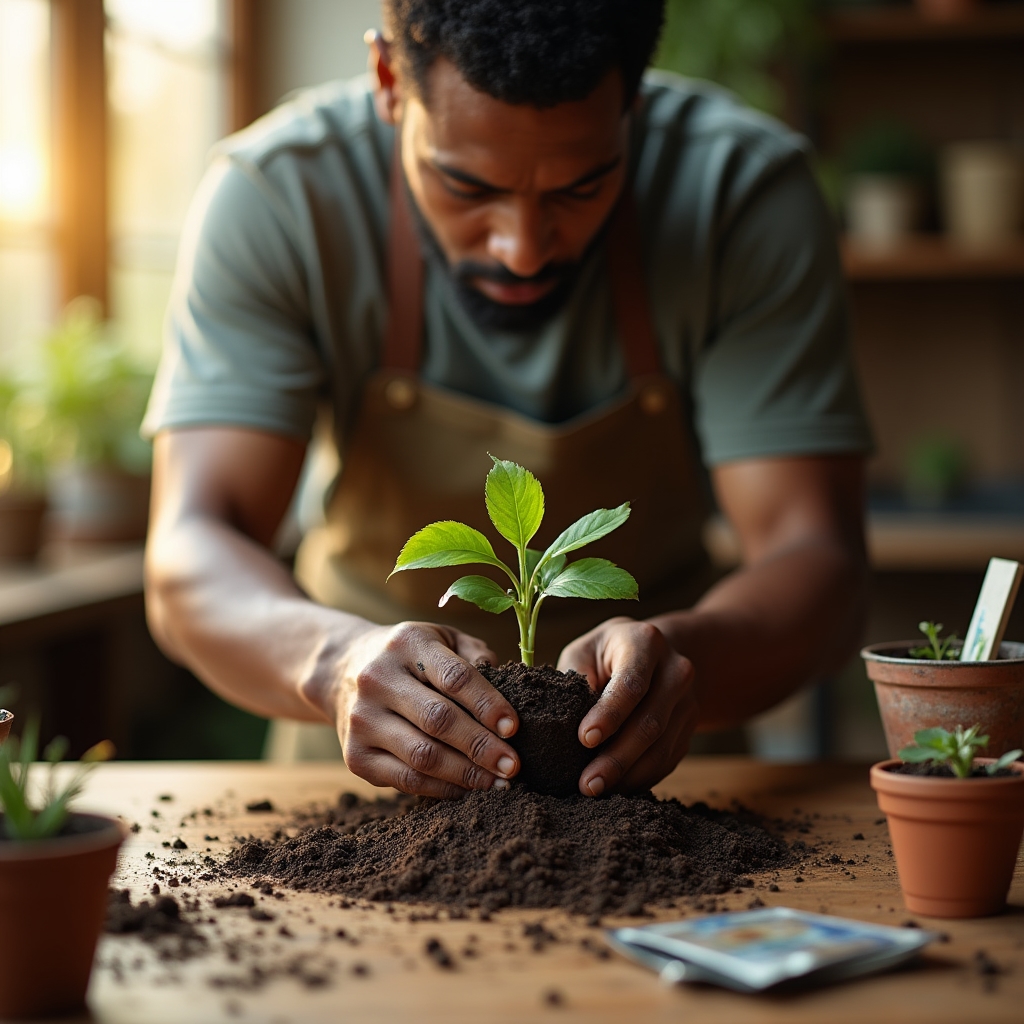
Completing the course does not mark an endpoint. The Complete Course and Group Workshop formats include ongoing access to a community discussion forum, where questions about specific setups can be raised at any time. For anyone who prefers direct, individual follow-up, the Mentorship Add-On provides a month of periodic email check-ins after the core material is finished.